
To set up our server and point-of-sales we used a brand new Raspberry Pi 3b+ with a Kingston 128Gb micro SDX card. For preparing the card and doing the remote management we used a Lenovo laptop with MS Windows 10.
It was only after buying the card that we found this page for comparing working / non working SD cards for the Raspberry Pi 3b+, so be sure to check that before you buy something. (At the time it said this card was troublesome, but we had no problems with it.)
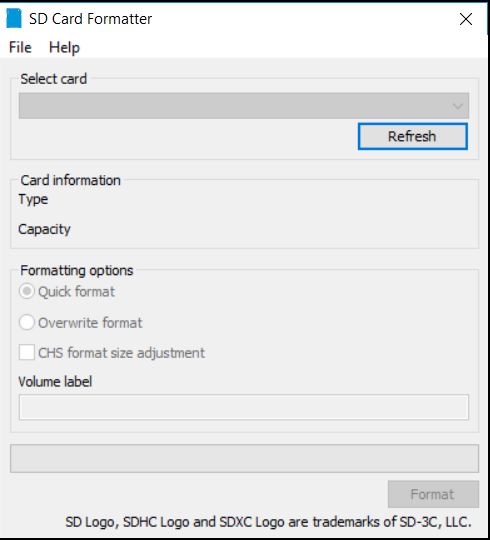
So, to use the card it had to be formatted as FAT32. For this we used the
SD Association’s SD Card Formatter program. Be aware of any attached harddisks to you pc when using this program; it’s easy to format the wrong station! The volume label is automatically set to ‘boot’, but can be changed to whatever you like.
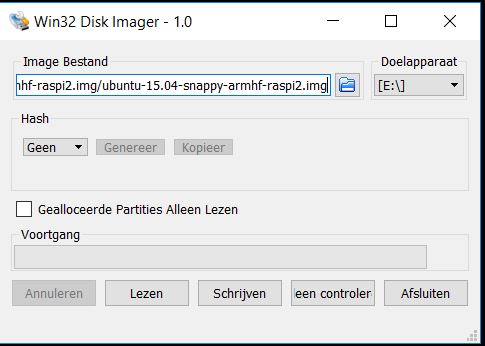
We downloaded the ubuntu-15.04-snappy-armhf-raspi2.img.xz image file, which was the latest Ubuntu armhf image at the time.
Next we installed Win32 Disk Imager on our Windows laptop to write the Ubuntu image to the card. By following the screen instructions it was easy and quick to write the image to the card.
Then we ejected the card from the Windows Explorer window, ejected it physically from the cardreader and inserted it into the Raspberry Pi, with the copper pins topside.
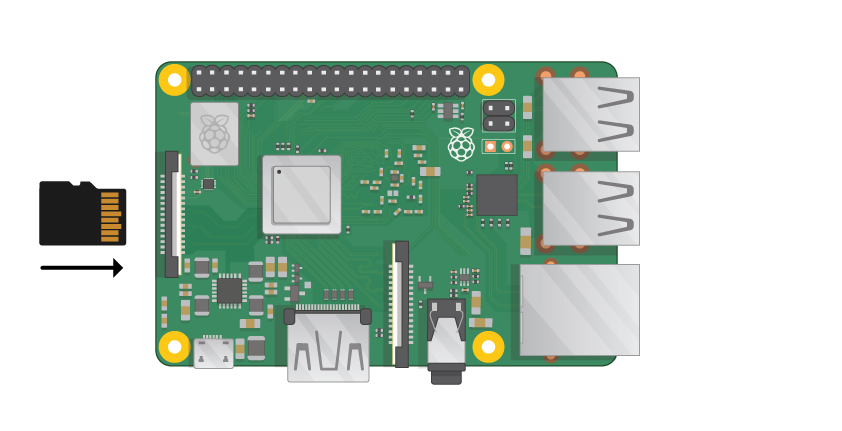
If you ever want to take it out you’ll need a pincet or something if you have your Raspberry already build into a coverbox, like we have. It quite diffucult to get the card out with just your nails.
Next we powered on the Raspbery Pi 3b+ to see the startup messages appear after some time (be a little patient). To see that the disk image is automatically ‘stretched’ to the full size of the card was a relief.
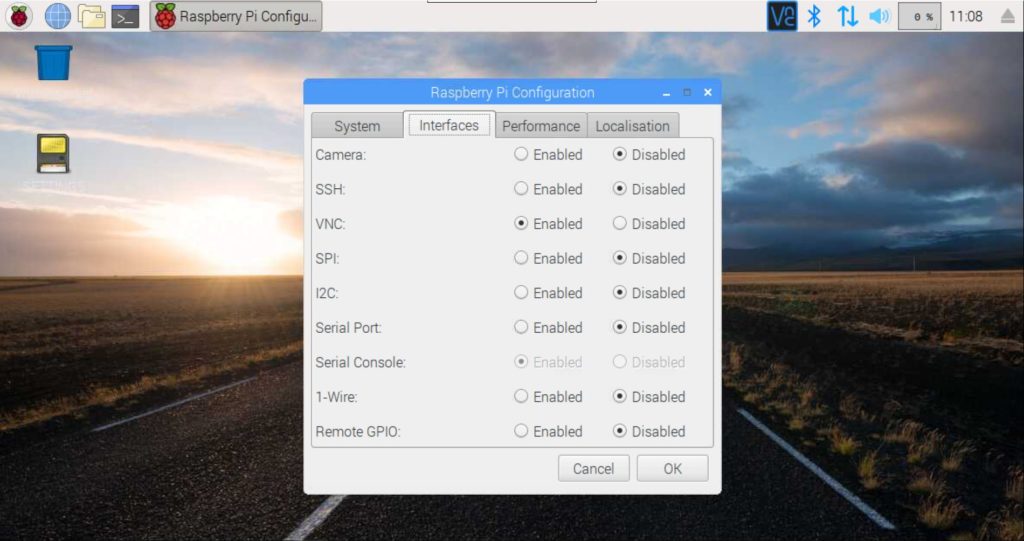
After the desktop screen became visible the first thing we did was go to the menu ‘Aplications’ – ‘Preferences’ – ‘Raspberry Pi Configuration’. On the tab ‘Interfaces’ we enabled VNC. It was then possible to start our VNC client on the windows management laptop and connect to the Raspberry’s IP address and login with user “pi”, password “raspberry”. (As an alternative it is possible to connect through an SSH client (like PuTTY)
That’s it, for us that was all it took to set up the Raspberry3b+. It then took all our strenght not to go to raspberrypi.org to try all of the fun looking projects they have. We had to go for Odoo instead.